
The fastest reliable path is to install the dialer vendor's managed package from AppExchange or enable Salesforce's own Voice features, authenticate the connection in the dialer's admin portal, map phone fields and objects, turn on click-to-dial, open the required network ports, then run test calls. Admins own the install, authentication, mapping, and network steps. Reps just need to verify the softphone and screen pop work before they start dialing.
TL;DR:
- Proper setup requires installing the vendor’s managed package or enabling Salesforce Voice features, authenticating, and accurately mapping phone fields before going live.
- Testing in a Sandbox environment ensures field mappings, call logging, and screen pops work correctly, avoiding costly mistakes during production rollout.
- Call quality relies heavily on network configurations; opening required ports and allowing vendor IP ranges prevents most common call issues.
- AI-powered dialers demand higher data accuracy, making small mapping errors costly when dialing hundreds of numbers simultaneously, so careful validation is essential.
- Using managed services like SDR.ai simplifies setup by automating connections and targeting, reducing setup time and minimizing integration risks.
Table of Contents
- Quick setup checklist of ordered steps
- Prerequisites and permissions to prepare in Salesforce and the dialer admin portal
- Authenticate and connect: installing managed packages or enabling Voice
- Map Salesforce objects and fields to the dialer
- Click-to-dial and softphone configuration for sales reps
- Network, firewall, and call quality checklist
- Test, verify, and validate the integration
- Troubleshooting common problems and quick fixes
- How AI-enabled dialers change implementation priorities
- How SDR.ai can help with a Salesforce-connected dialer
- Authoritative docs for network tests and vendor setup
- Sources
- FAQ
Quick setup checklist of ordered steps
Most implementations follow the same order, whether the dialer is a third-party CTI tool or Salesforce's own Sales Dialer. Skipping ahead usually means backtracking later.
- Install the managed package from AppExchange, or enable Dialer/Voice features in Salesforce Setup.
- Authenticate the admin connection and choose the correct Salesforce instance.
- Map Salesforce objects and phone fields to the dialer's fields.
- Assign permission sets to the users who need dialer access.
- Configure the softphone or CTI adapter in the console utility bar.
- Open the required network ports and confirm firewall rules allow the traffic.
- Run test calls and confirm screen pops, logging, and call quality.
Do this first in a Sandbox, not Production. A field mapping mistake or a blocked port is far cheaper to fix before it touches live leads, and most teams schedule the Production cutover for a low-call-volume window so a rollback does not strand reps mid-shift.
Prerequisites and permissions to prepare in Salesforce and the dialer admin portal
Before touching the dialer's admin portal, get the Salesforce side ready. If you are implementing Partner Contact Center (Service Cloud Voice), you will need Omni-Channel and the relevant console features enabled first, along with any custom domain or single sign-on checks your security team requires.
- Confirm whether your org has Sales Dialer licenses available or whether you are migrating to Service Cloud Voice for its AI-driven transcription and next-best-action features.
- Assign the permission sets that grant dialer access, call logging rights, and softphone visibility to the correct profiles.
- Standardize your phone number fields (format, country code) across Leads and Contacts before mapping begins.
- Prepare timezone or region fields so the dialer can respect calling-hour rules by area.
Pro Tip: Run a data audit on phone and timezone fields before you connect anything. Cleaning these first saves a second round of remapping later.
Authenticate and connect: installing managed packages or enabling Voice
Connecting the dialer starts with an install, then an authorization handshake. For third-party CTI tools, that means grabbing the managed package from AppExchange. For Salesforce's own Voice product, it means enabling Dialer from Dialer Settings and adding it to the utility bar.
- Install the managed package from AppExchange, or turn on Dialer/Voice in Setup and add it to the console utility bar.
- In the dialer's own admin portal, follow the standard integration path: Integrations, then Salesforce, then Manage Settings, then sign in and authorize the connection, as Dialpad's setup documentation outlines for its own product.
- Select the correct Salesforce instance during authorization. Sandbox and Production are separate environments with separate data, so authorizing against the wrong one means your test calls never touch real records, or worse, your test campaign fires at live leads.
- Save the connection, then confirm the dialer shows as connected in both the Salesforce setup screen and the dialer's own dashboard.
Changing instances later usually means re-authenticating from scratch, so confirm the target before you click through the OAuth prompt.
Map Salesforce objects and fields to the dialer
Mapping is where most integrations quietly break. Getting screen pops to appear is only useful if the underlying record match is correct, and getting calls to log is only useful if they land on the right object.
- Map Leads, Contacts, and Accounts to the dialer's corresponding lead or contact objects, and designate a primary phone field for each.
- Map call disposition and outcome fields to Tasks or a call-log object, and confirm whether recordings attach automatically to the record.
- Map timezone, region, or ZIP code fields so the dialer respects reasonable calling hours by area rather than dialing off a single default zone.
- Set a rule for blank phone numbers: skip records with no valid number rather than letting the dialer attempt them and log false failures, a pattern Dialpad's documentation flags as a common source of broken campaigns.
Pro Tip: Before launching a real campaign, run a 10-record test list through the full mapping and check every field that should populate, not just the phone number.
Validate mappings by pulling ten sample records through the dialer and checking the resulting Task or call log against what you expected. If the timezone field is empty, dispositions will not follow the rule you built, no matter how correct the phone mapping looks.
Click-to-dial and softphone configuration for sales reps
Once the backend mapping is solid, the rep-facing experience is mostly console configuration. Add the softphone widget to the utility bar so it is visible on every record page, then confirm click-to-dial is active on the phone fields reps use most.
- Add the softphone or CTI adapter to the utility bar in the Salesforce console.
- Enable click-to-dial on the phone fields, and assign user-level settings for local presence numbers where the dialer supports them.
- Turn on auto-logging so calls create a Task automatically, and decide which fields (duration, disposition, recording link) populate without manual entry.
Reps should never have to copy a phone number into a separate app. If click-to-dial is not showing on a field, the mapping from the previous step is the first place to check.
Network, firewall, and call quality checklist
Call quality problems are almost always network problems, not Salesforce problems. Most dialers route audio over RTP and signal over HTTPS, so both need a clear path through your firewall.
- Open HTTPS/443 for signaling and the RTP/UDP port range your dialer vendor specifies for media.
- Allowlist the vendor's IP ranges, including Twilio's or Amazon Connect's published ranges if your dialer runs on either.
- Confirm per-call bandwidth is sufficient, and remember that AI-dialers using parallel dialing put more concurrent RTP streams on the network than a traditional one-call-per-agent setup.
- Run the vendor's own network test, such as Twilio's network test, before piloting with real reps.
Twilio documents specific network connectivity requirements including required ports and IP ranges for its in-browser softphone, and provides a network test to confirm the connection before go-live. Skipping this step is the most common reason a pilot fails on day one.
Test, verify, and validate the integration
Testing is not optional and it is not a one-time click. Run through a full cycle of inbound and outbound test calls before letting a full team loose on the dialer.
- Place a test outbound call and confirm the screen pop shows the correct matched record.
- Receive a test inbound call and confirm it routes correctly and pops the right contact.
- Check the resulting Salesforce activity record for accurate duration, disposition, and any recording attachment.
- If you use Omni-Channel routing, confirm presence status updates correctly and that the record's timezone displays as expected.
Any gap here (a missing disposition, a call that never logs, a screen pop tied to the wrong record) points back to a mapping or permission issue worth fixing before scaling call volume.
Troubleshooting common problems and quick fixes
Most integration issues fall into a handful of repeatable categories, and most have a fast fix that does not require a support ticket.
- Authentication failures: re-run the OAuth flow and confirm the connected app has the correct permissions and hasn't expired.
- No screen pop or wrong match: check phone number formatting and matching rules. A missing country code or extra digit breaks the match silently.
- Missing call logs: verify the object mapping and confirm the user's permission set includes call logging rights.
- Poor call quality: rerun the vendor's network test and check for blocked ports or insufficient bandwidth before assuming it's a Salesforce issue.
How AI-enabled dialers change implementation priorities
AI-dialers that parallelize outbound attempts put more pressure on data quality than legacy one-line dialers did. When a system can attempt hundreds of calls in the time a human rep makes ten, a bad timezone mapping does not cause one awkward call, it causes hundreds of them. Bad CRM data already carries a real cost across organizations, as Harvard Business Review has pointed out, and parallel dialing amplifies that cost fast.
Pilot a small list first and carefully watch logging fidelity before a full rollout. For teams without in-house dialer expertise, a managed integration path reduces the risk of a scaled rollout exposing mapping errors nobody caught in testing.
— Chad
How SDR.ai can help with a Salesforce-connected dialer
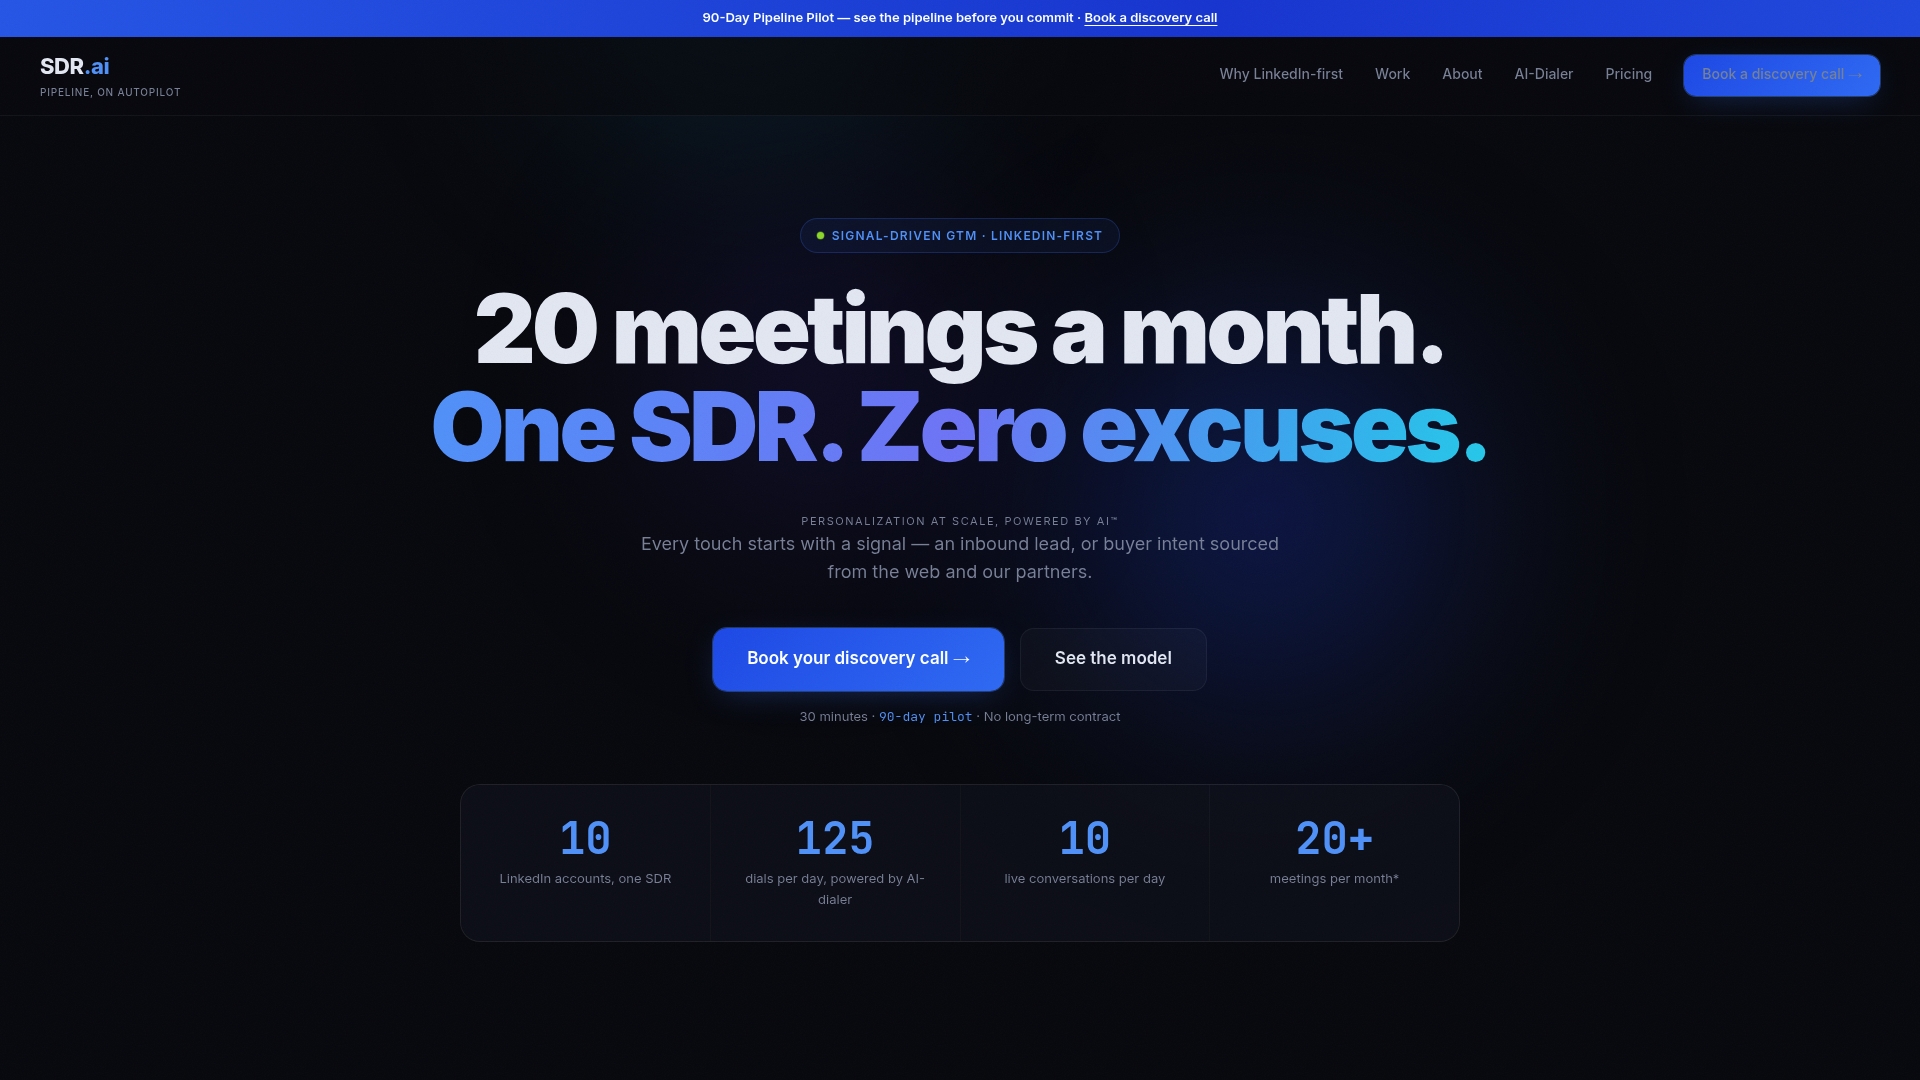
If the checklist above sounds like more setup than your team has time for, SDR.ai's AI-Dialer is built to connect into Salesforce with parallel dialing already configured, so you skip the manual port-by-port network tuning. It pairs with SDR.ai's managed AI-powered outbound service, which handles targeting, outreach, and warm calling against your ICP instead of leaving your team to build and maintain the integration alone.
- Some AI-powered dialers run as standalone SaaS licenses for teams that want dialing technology without a managed service.
- Managed outbound services often pair dialers with human-reviewed messaging and calling, so setup risk is shifted away from the admin team.
If you would rather see it running against your own pipeline than read another setup guide, book a demo and we will walk through what a connected setup looks like for your Salesforce instance.
Authoritative docs for network tests and vendor setup

Start with Salesforce's Sales Dialer setup guide, Dialpad's Salesforce integration steps, and Twilio's network test for connectivity checks. For deeper record mapping guidance, Salesforce Commerce Cloud field mapping resources are also worth a look.
Sources
- Use Dialpad Dialer with Salesforce
- Set Up Sales Dialer | Salesforce Help
- What are Twilio Client's network connectivity requirements?
- Twilio Network Test
FAQ
Does Salesforce have a dialer?
Yes, Salesforce offers Sales Dialer and the more advanced Service Cloud Voice (Partner Contact Center), both of which enable calling directly from within the console. Service Cloud Voice adds AI-driven transcription and next-best-action features, as outlined in Salesforce's own Service Cloud Voice training.
How can I integrate my telephony with Salesforce?
Install the dialer vendor's managed package from AppExchange or enable Salesforce's native Voice features, then authenticate the connection in the dialer's admin portal and map your Salesforce objects and phone fields. Third-party vendors like Dialpad follow this same admin flow: enable the integration, authorize through OAuth, choose your Salesforce instance, then map fields.
Is a dialer a CRM?
No, a dialer is a calling tool that places and manages phone calls, while a CRM like Salesforce stores customer records, activity history, and pipeline data. They work together through an integration, with the dialer logging call activity back into Salesforce records rather than replacing the CRM itself.
Why do dialer integrations with Salesforce sometimes fail?
The most common causes are authentication expiring, phone number formatting mismatches that break screen pop matching, and blocked network ports affecting call quality. Running the vendor's network test, such as Twilio's, and re-checking field mappings resolves most of these without a support ticket.
Should I test a dialer integration in Sandbox before Production?
Yes, testing in Sandbox first lets you validate authentication, field mapping, and call logging without risking live lead data or misdirected calls. Once test calls confirm accurate screen pops and logging, moving the authorized connection to Production is the safer next step.